


OAuth 2.0
OAuth is a well known authorization framework that enables applications to obtain limited access to user accounts. OAuth defines four roles:
- Resource owner is the user who authorizes the application to access their account, with a limit to the scope of the authorization that can be granted.
- Resource server is the server that hosts the protected resources.
- Client is the application that wants to access the user’s account.
- Authorization Server verifies the identity of the user then issues access tokens to the application.
See our step-by-step example to get OAuth 2.0 implemented by your integration.
When a client requests access to one of the protected resources, they verify their identity by the authorization server which, with the approval of the resource owner, issues an access token. This token represents a specific scope, lifetime, and other access attributes that are different from the credentials of the resource owner. This token can be used by the client to access the protected resources hosted by the resource server.
Below is a diagram of how OAuth roles generally interact with each other.

OAuth with Kommo
A user account is any Kommo account, which in OAuth terms represents the resource owner. Your integration is the client here. It will access and use data in the user accounts that exist on the Kommo server (the resource server), according to requested and granted permissions. Read more about the authorization process in the step-by-step example page. The Kommo account in which integrations are created is called developer account. Once you have it, you will get OAuth application credentials.

Here’s our reasons to use to OAuth:
-
More secure:
We need OAuth to allow an integration to have granular access to Kommo account user’s data, without revealing the user’s credentials to the integration. It is a big advantage of the OAuth method over the API-keys one. -
Manage permissions:
When using an integration that authenticates with OAuth, the Kommo user will be redirected to a page to choose whether or not grant the integration the selected access to their account. In the request they will see the data that will be accessed. OAuth’s role is to ensure secure handling of these permissions correctly.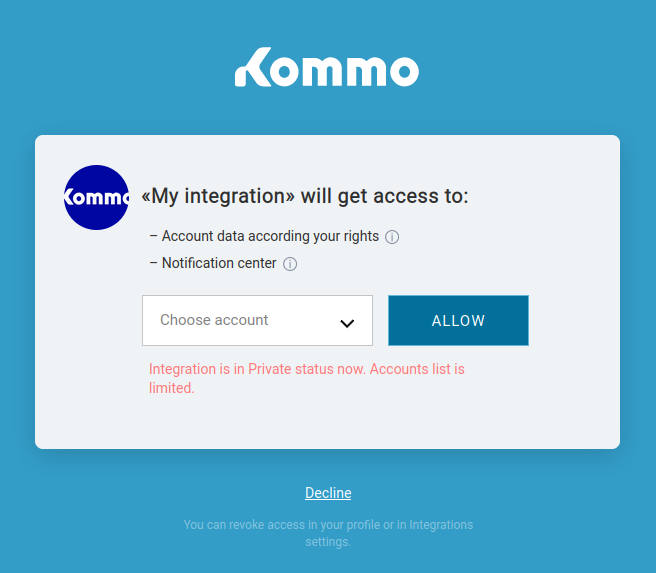
-
Installing integrations:
Kommo users don’t have to go to their Kommo accounts to find your integration (application) and install it. As a developer, you can provide a button on your site, or a webhook URL to install a widget in order to grant integration access to the accounts.
-
Support developer:
If you are developing an integration (application), and you need to test it, you don’t have to follow the full cycle of the OAuth authorization process. You can work on your developer account using the administrator rights, and copy keys from the modal window of the installed integration and get access to account data without redirecting.


The following definitions are to familiarize you with Kommo OAuth terms.
What is an integration?
In order for your application/service to be able to work with the Kommo API, you need to create an integration (application) in the ‘Integrations’ section of your Kommo account. Read more about integrations.
This account will be treated as a developer account, and all administrators of this account can edit the integration.
There are two types of integrations:
- Personal integration: the simplest type of integration where you create an integration only within one Kommo account.
- Marketplace integration: public integration published on our marketplace, useful for all Kommo users.
After creating the integration it will have two specific parameters: Secret key and Integration ID, which will be used during authorization regardless of the account in which it will be installed.
What is a widget?
A widget represents the UI integration. It might be used to display data in special areas, to interact with the user, or to adjust settings by administrators.
The widget from the user perspective is an installation and access point to the integration in the account. While from the developer’s view point, it has the settings for the integration, containing: description, icons, subscription to events, determination of the required scopes, integration id and integration secret.
What is an installation?
In order for an integration to gain access to the user account data, it needs to be installed/enabled in the account. An installation is the connection between an integration and the specific user account.
When a user installs an integration in an account, they will receive a temporary identifier called ‘authorization code’.
Notes:
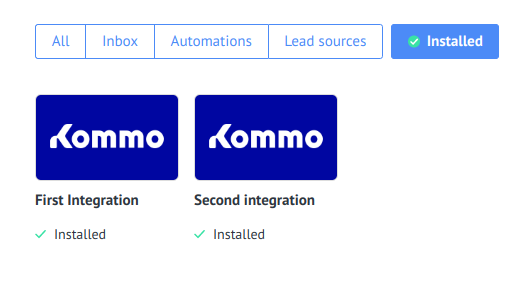
- The Integration can be installed in more than one account by one user, and different users can install it in the same account using the button on the site method. In this case the integration appears just once in the installed integrations and a different authorization code will be produced.
- If your integration has its own authorization (for example, by API key), you should carefully monitor installations with the same authorization data to prevent duplication/theft of information. The user can find the installed integrations in the settings -> integrations section
-
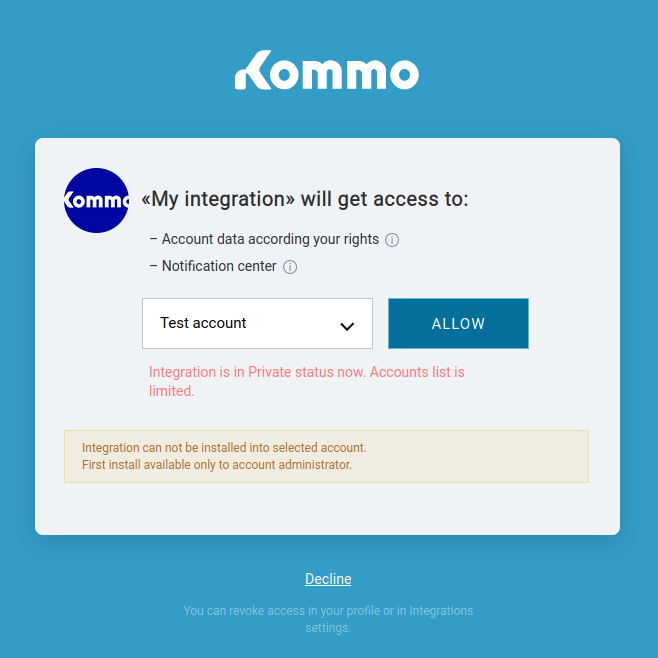
Non-admin users can not install an integration, but they can authorize an installed integration.


What is an authorization code?
An authorization code is required for the initial obtaining of a pair of access and refresh tokens. You can see it in the interface or through a Redirect URI if the authorization was run from the modal window for permissions. The lifespan of the code is 20 minutes. This code is not hidden, which means that users can see it in server requests. That’s why within OAuth 2.0 protocol, it must be exchanged to refresh and access tokens, using the keys of the apps that are known only to you.
Since integration in one account can be installed by different account users at the same time, there will be several authorization codes and several access/refresh tokens.
The account administrator can find a list of users who have granted integration access in the authorization section of the widget modal window. In the same place, the administrator can revoke access. The integration developer can handle the deactivation event (uninstall) by subscribing via webhook to the revoke access event in the integration settings section.

What is an access token?
This is a string in JSON Web Token standard, which is used to access Kommo services from identified users. It’s kind of an equivalent to the session ID. Each access token has:
- User ID: the ID of the user that the token is linked to
- Integration ID: the ID of the integration that the token is linked to
- Set of actions available in the application
- Account ID: the id of the account that the token is linked to
The access token has a limited lifespan (24 hours) and can be obtained using an authorization code or refresh token.
What is a refresh token?
It is an additional string that is issued with the access token. It is used to refresh and update the access token whose lifespan is about to expire. The refresh token has a lifespan of 3 months, and on each update of the access token a new refresh token is generated. Each time a session expires, you will need to update both tokens, and you cannot use the old key.
If after three months the integration has not been used, the refreshed token will then be revoked. This means that the user who was granted access will need to be granted access again.